
Ever wondered where people are clicking, scrolling, or just getting confused on your website?
Well, what if I told you there’s a 100% free tool by Microsoft that lets you literally watch how users interact with your site — clicks, scrolls, rage clicks, and more?
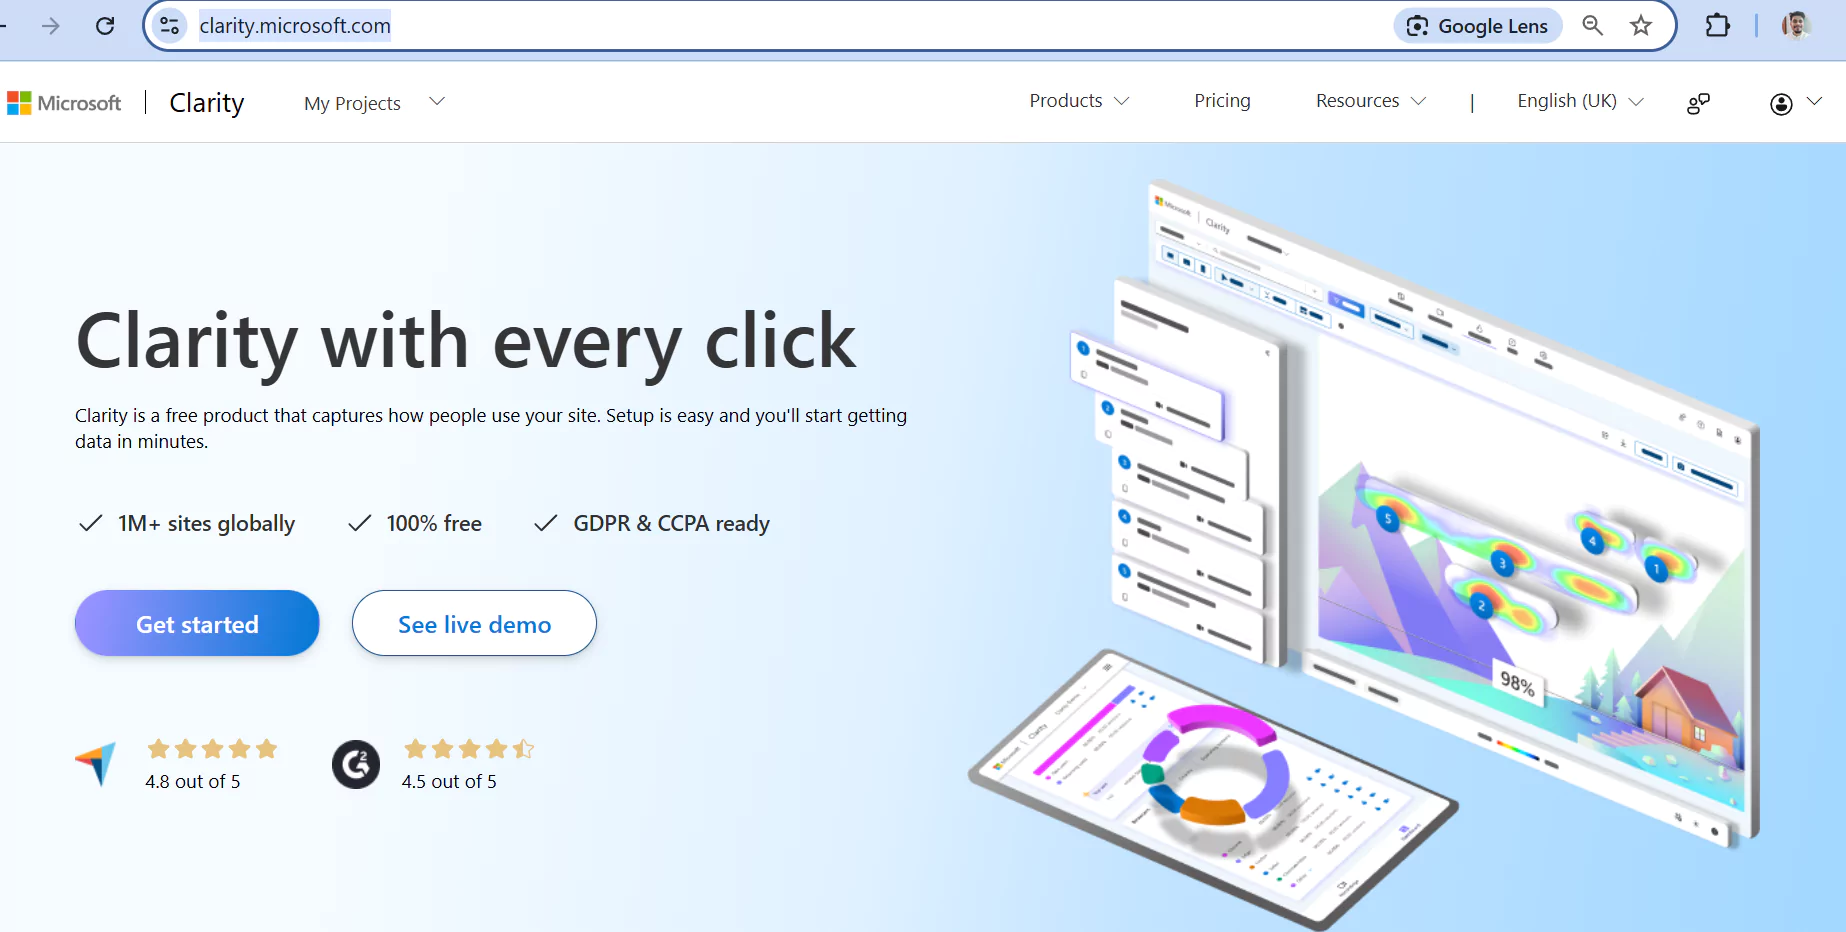
Meet Microsoft Clarity – the tool that shows you real-time heatmaps and session recordings so you can finally stop guessing and start improving.
Let’s dive into how to add this magic tool to your WordPress website in just a few steps.
What is Microsoft Clarity?
Microsoft Clarity is a free tool that helps you understand what people are doing on your website. It shows:
🔥 Heatmaps – see where users click, how far they scroll, and what grabs their attention.
🎥 Session Recordings – watch actual visitor sessions (live or recorded) and see every move they make.
🚧 Frustration Signals – find where users are struggling, like rage-clicking or quick exits.
📊 Insights + Google Analytics – combine Clarity with GA to understand why something happened.
And the best part? It’s 100% FREE and used by over 1 million websites globally.
How To Set Up Microsoft Clarity On Your WordPress Website
Let’s break this down into super simple steps:
Step 1: Create Your Microsoft Clarity Project
Go to clarity.microsoft.com and click Get Started.
Sign in using your Microsoft, Google, or Facebook account.
Once inside, click “Add new project”.

Fill in the details:
- Project Name – e.g., “My WordPress Blog”
- Website URL – your site’s full address (like https://yourwebsite.com)
- Industry – choose the category that fits your site.
- Hit “Add new project” to continue.
Step 2: Get the Tracking Code

- After adding your site, you’ll see installation options.
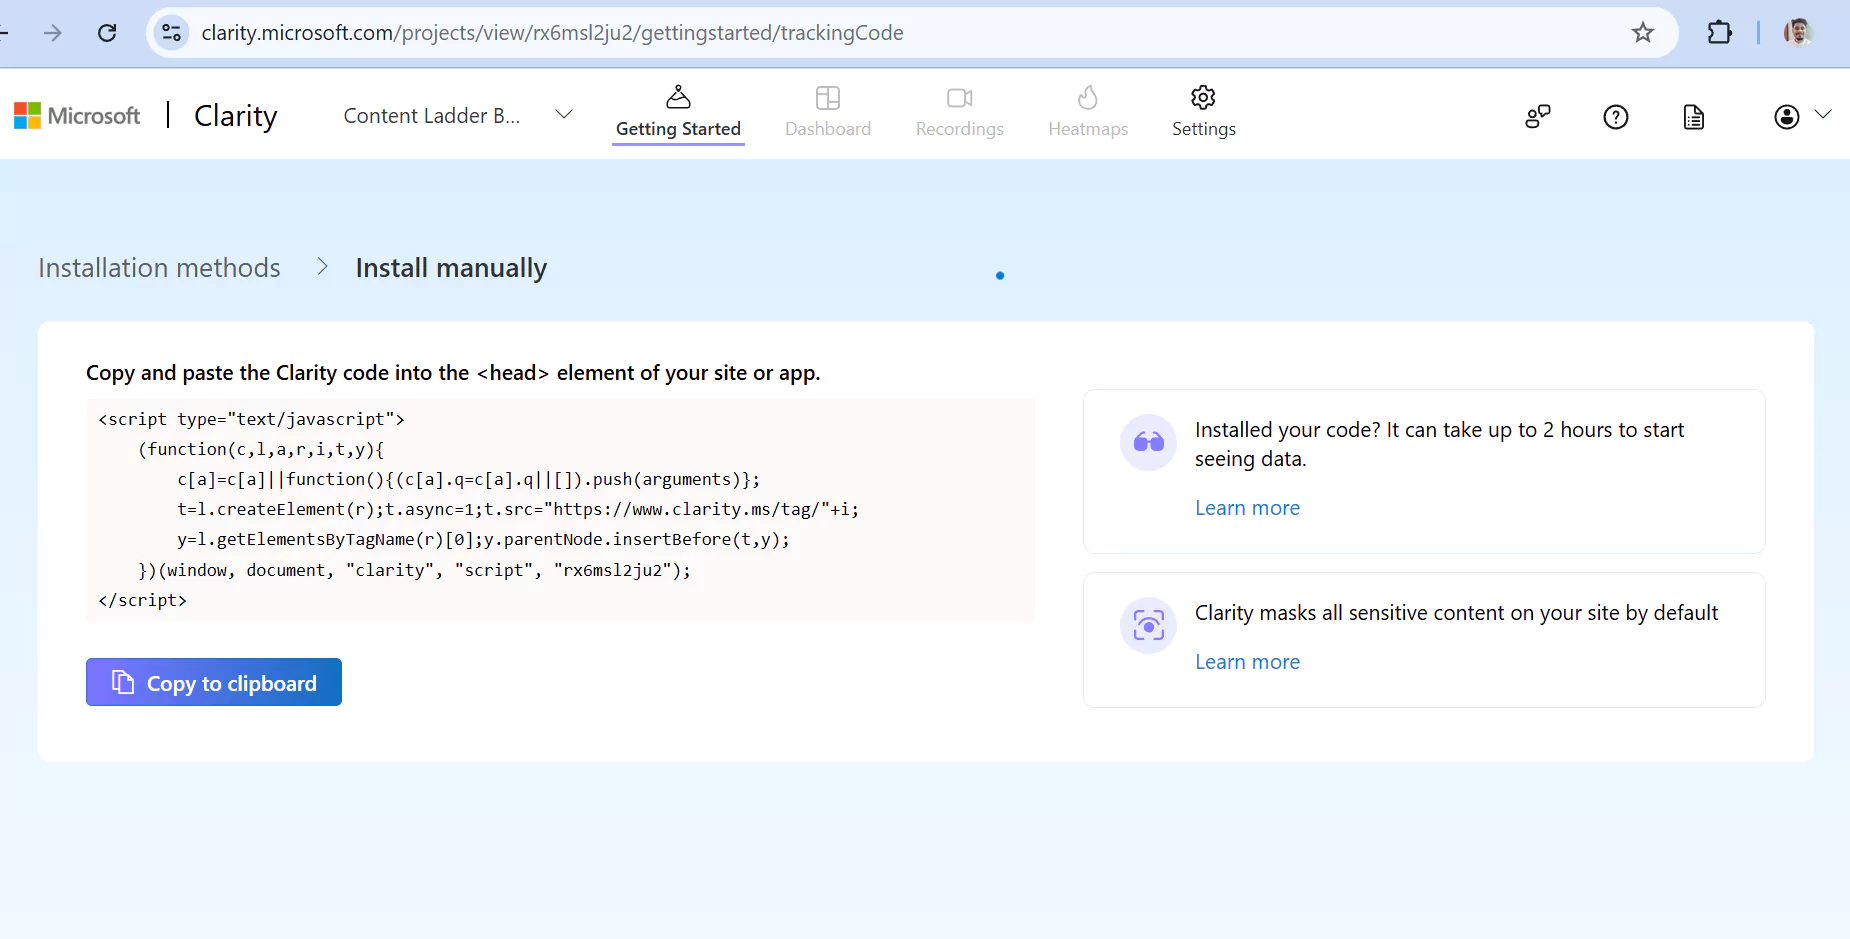
- Choose “Install manually”.
- Copy the Clarity tracking code. It will look like this:
Step 3: Add the Code to WordPress
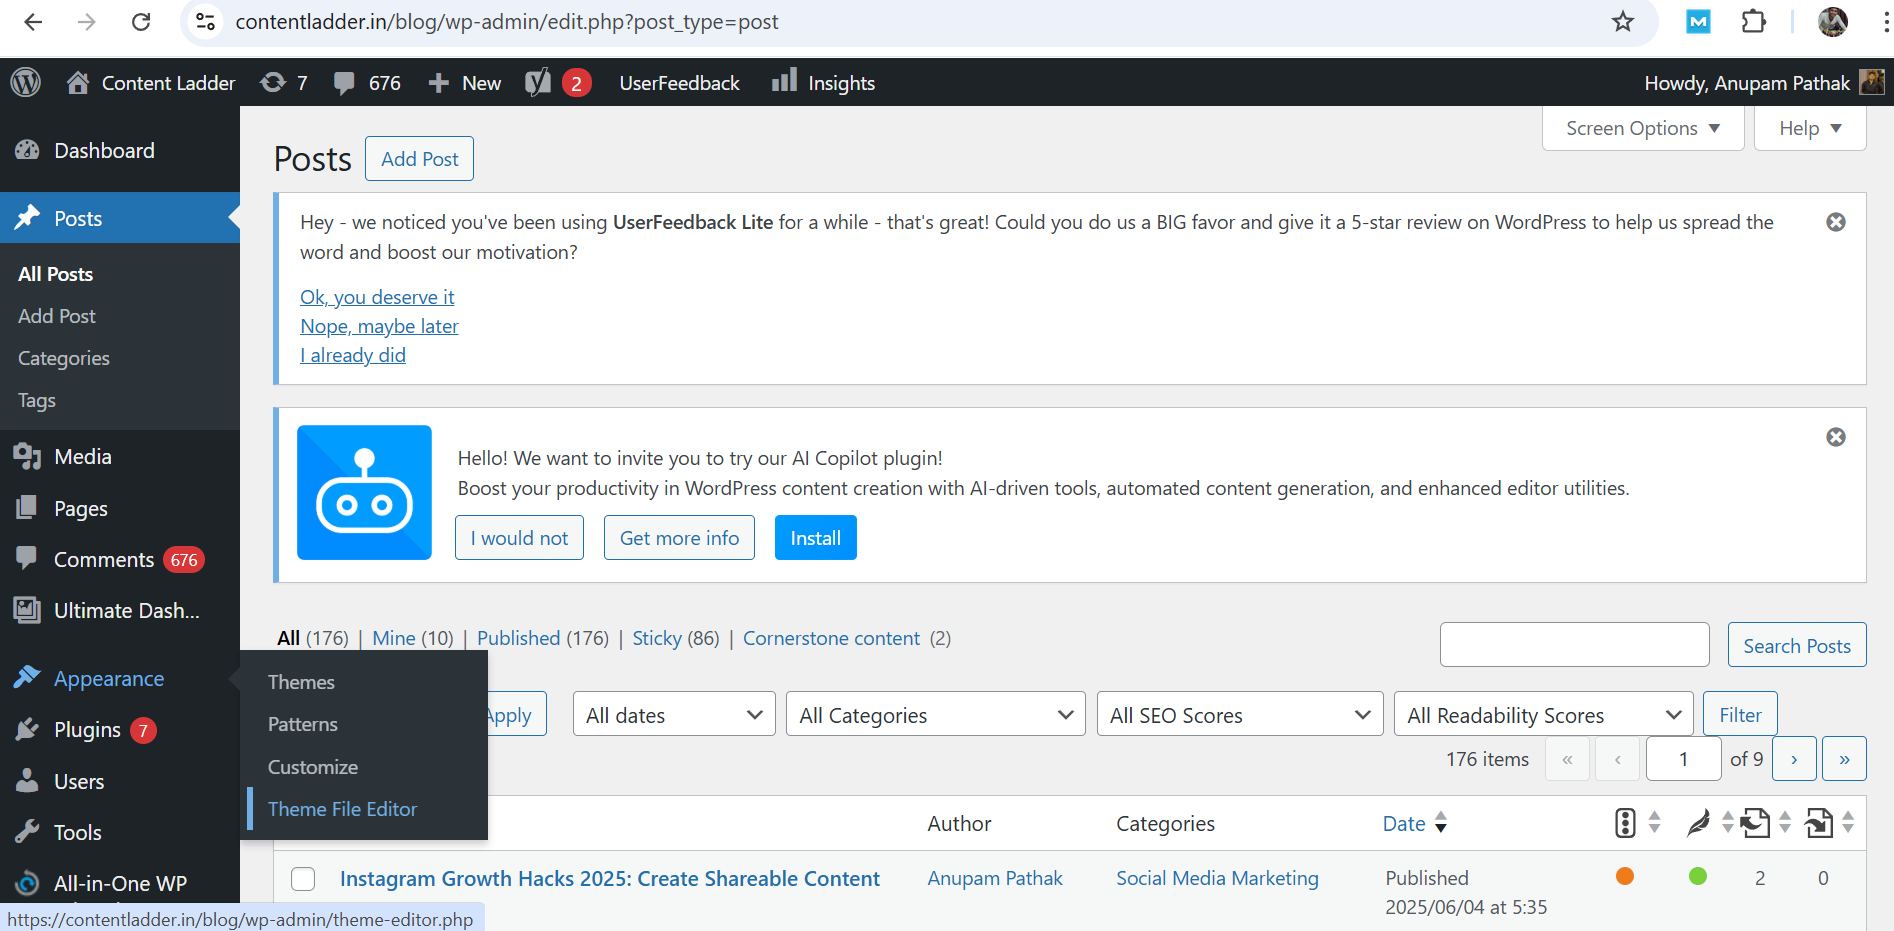
Log in to your WordPress dashboard.
On the left menu, go to Appearance > Theme File Editor.
On the right side, find and click header.php (this is your theme’s header file).
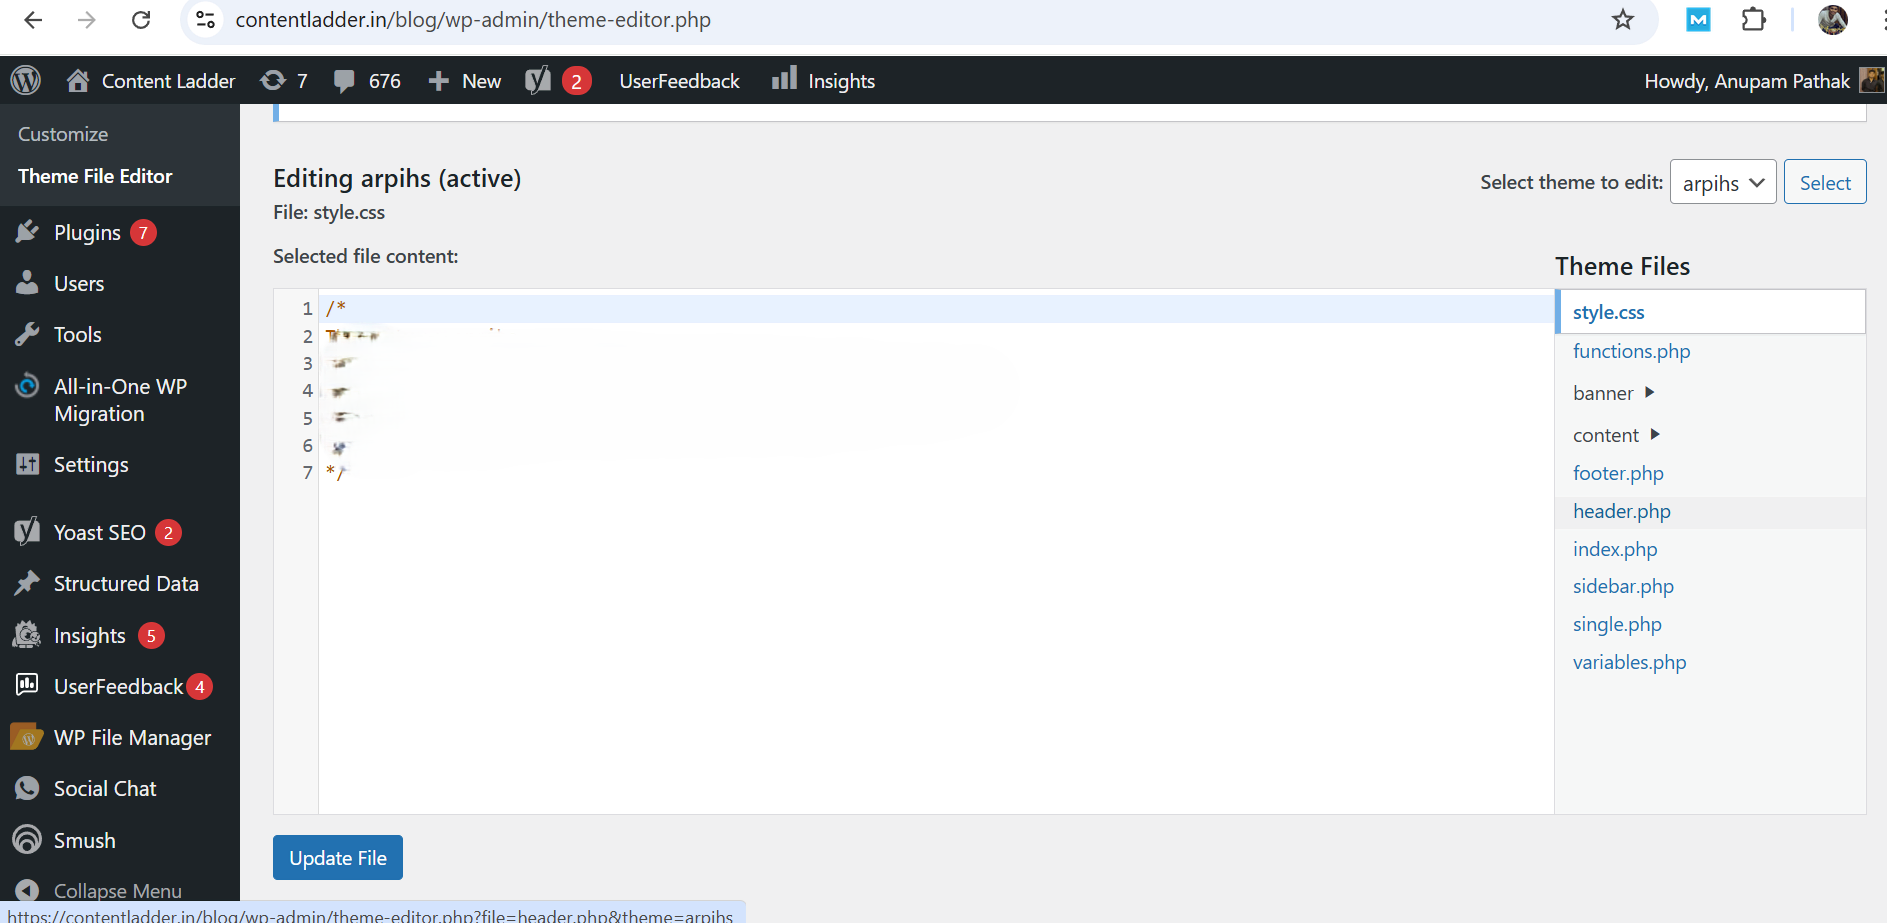
Look for the
tag and paste the Clarity code just below it.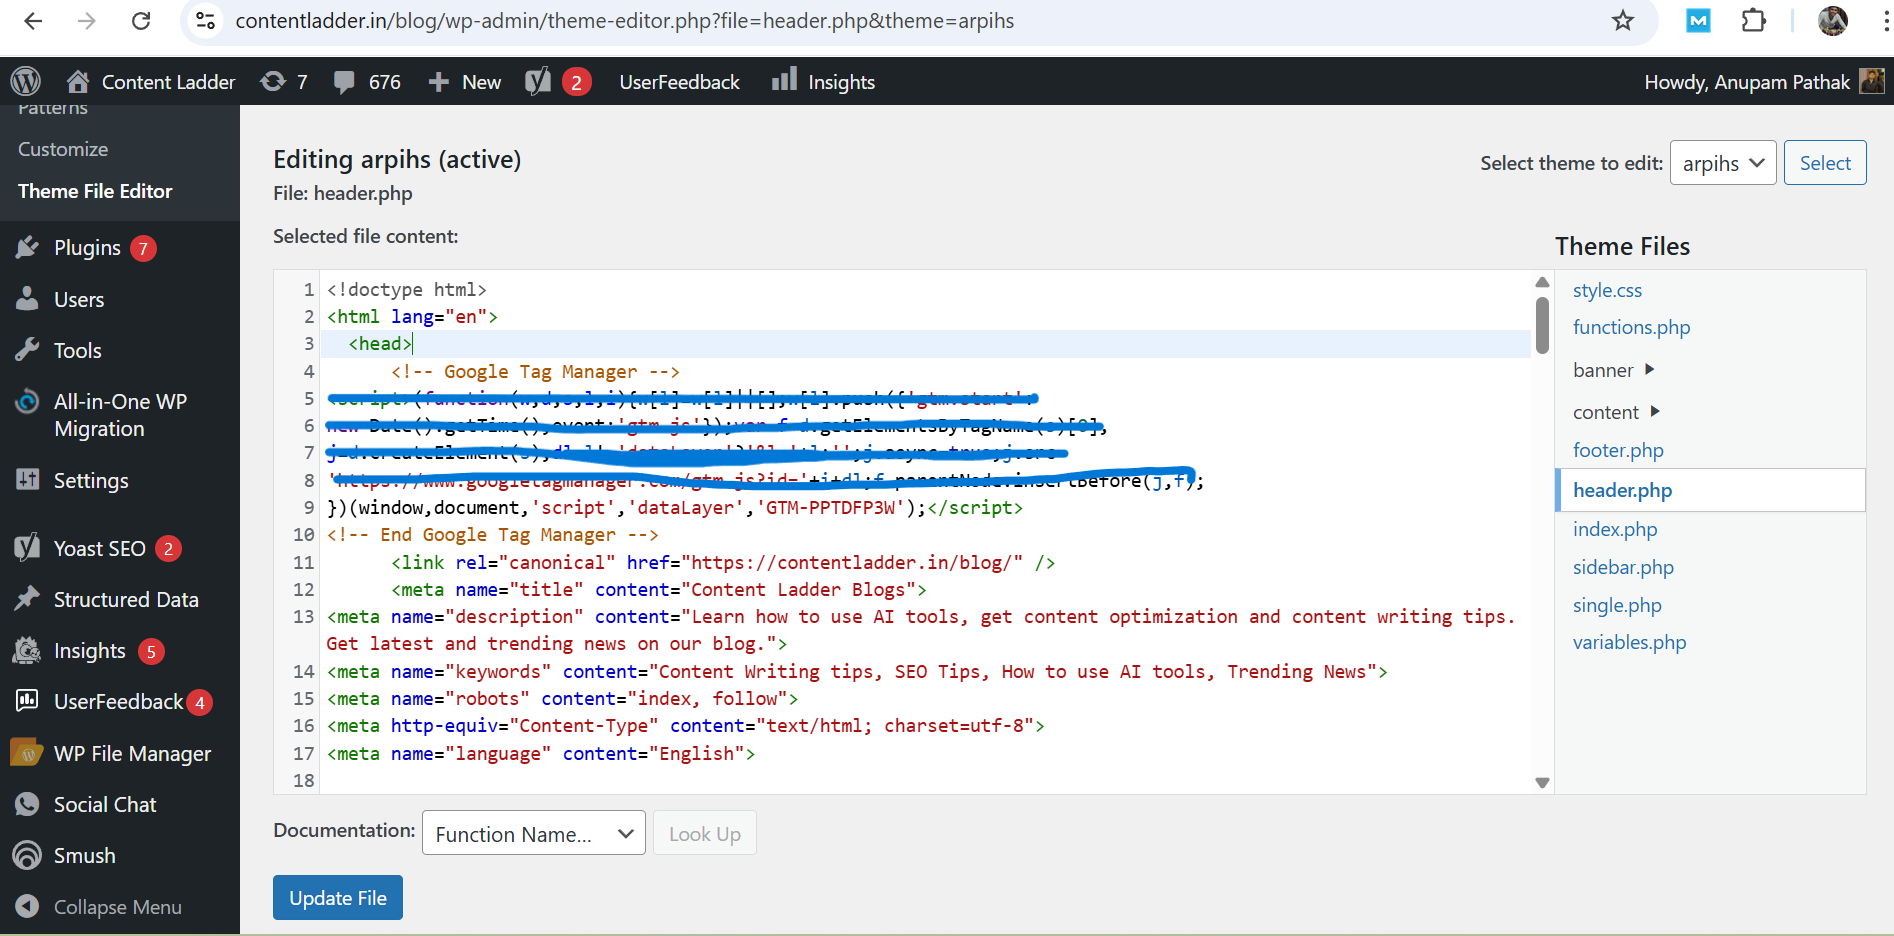
Click “Update File” to save.
Tip: If you’re not confident editing code, you can use a plugin like Insert Headers and Footers to paste the script easily.
Step 4: Wait For the Magic
After you’ve added the script:
- Microsoft Clarity starts working almost immediately.
- But give it 24–48 hours for full data to start showing.
- Then log in to Clarity and explore heatmaps, recordings, and user insights.
How to set up Google Search Console
Final Thoughts
Microsoft Clarity is like having a window into your visitors’ minds. It tells you what’s working, what’s confusing, and what needs fixing — without guessing.
Whether you’re a blogger, marketer, or business owner, Clarity can help you make smarter decisions just by watching how users behave.
Need Help?
If this feels overwhelming — don’t worry, we’ve got your back.
Reach out to us directly at ContentLadder or message us on WhatsApp. We’ll set it up for you in no time.