How to add Sitemaps to Your Website Using C Panel
Many front-end SEO professionals struggle with adding sitemaps, especially when the website is custom-coded. However, here are some simple, effective tips to help you add sitemaps to your website using C Panel. With these steps, you can easily guide your developer, and it will take no more than 5 minutes.
Why Do We Add Sitemaps?
Sitemaps help search engines index your website more effectively, improving your SEO performance. Sitemap tells search engines about our pages/categories etc.
Using WordPress SEO Plugin for Sitemaps
With WordPress SEO plugins, adding sitemaps is easy since they are automatically generated. However, for custom-coded websites, it can be slightly tricky but not complicated.
Steps to Add a Sitemap via C Panel
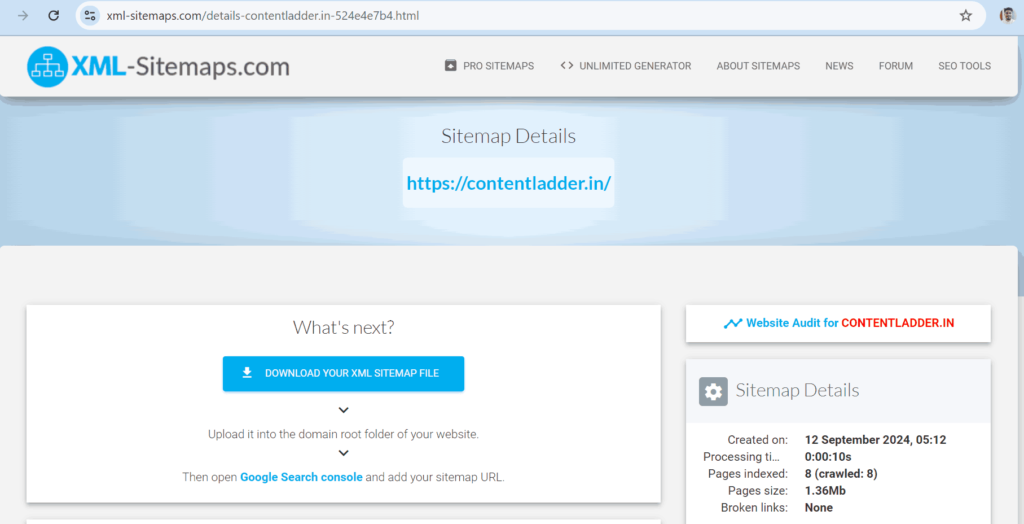
- Search for a Sitemap Generator online.
- Open the first website, https://www.xml-sitemaps.com/.
- Enter your website URL and download the sitemap file.
Follow these steps in C Panel One you have downloaded the Sitemap File
Login To C Panel of your Website
1. Scroll Down and Go to File Manager(find Public_html)
2. Then Click on Public_html
3. Then Upload the Sitemaps file which you have downloaded (You will get upload option in the upper section)
4. While Uploading Sitemaps, make sure you click on Overwrite existing files in the left side
Then Go back to home
5. Change the sitemap name by clicking the right side on the sitemap file
For example if the sitemap name is sitemap1.xml, Change it to sitemap.xml
Note: The name of the sitemap would be sitemap.xml
Adding sitemaps to your website using C Panel is simple and quick. It ensures your website is better indexed by search engines, boosting your SEO efforts. Following the steps outlined above will make the process smooth and efficient.
Facing any problem while adding sitemap? Contact us – we will do it for free